1) Create a new image that is 300x300, white background.
2) Add a new layer. Select the ellipse select tool
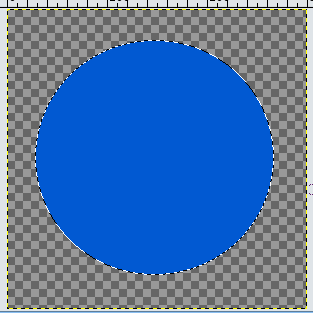
3) Now we want our border color. Select color 0159d2 and fill the circle with it using the paint bucket tool
 . Do not deselect yet. You should have something like this:
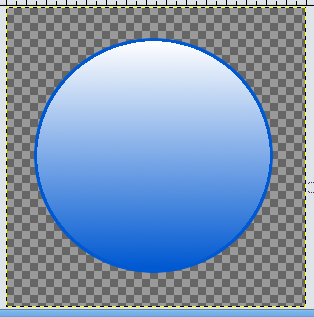
4) With the circle still selected, create a new layer. Go to Select -> Shrink. Shrink the selection by two pixels. Press D to reset your foreground and background colors. Press X to switch them. White should be in front.
5) Click the gradient tool

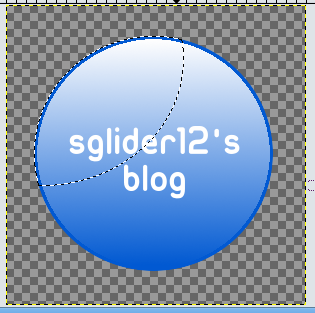
6) Now we will add some text. Add the text toward the center with white font. Position it somewhere in the center. Merge the text layer down with the rest of the badge.
7) Now we will create a reflection on the badge. Click the ellipse select tool. Select somewhere toward the top left corner of the badge. Then, click the magic wand tool. Put it in subtract mode, and, with the badges layer selected, select the empty space. This should leave just part of the badge selected:

8) Now, create a new layer. Fill the selection with white. Lower the opacity to about 33. Merge the layers.
9) Select the layer the badge is on. Go to Filters -> Light and Shadow -> Drop Shadow. Set the offsets to zero, the blur radius to 10. Uncheck allow resizing. Raise opacity to about 85.
10) Select the layer that the badge is on. In the layers dialog, click the duplicate layers button. You should now have two badges. Select the duplicated layer. Go to Layer -> Transform -> Flip Vertically. Move the flipped layer under the original layer. Now you can merge the original badge layer with the drop shadow layer.
11) Right click on the flipped badge's layer in the layers dialog and select Alpha to Selection. Select the gradient tool. Choose FG to Transparent. Make sure white is in the foreground. Drag the gradient tool from bottom to top. There you have it! A basic web 2.0 badge.


Ah, the holy grail of 21st century web graphics, this is going straight in my favourites!
ReplyDeleteAndrew Culture
Feel free to ignore this bit, it's just my signature!
My food/ good living blog...
Badges are my thing...
My photography...
is easy : |
ReplyDelete