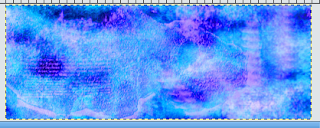
1) First, we need to make a background. I am going to make a grunge style background based on the tutorial from GimpTalk. First, you need to get some grunge brushes in order to do this. Go to DeviantArt.com and search for grunge gimp brushes or just Google some. Now, create a new image, 400x150, with a white background. Create a new layer, name it grunge. Brush your grunge brushes on it with a black color. Completely cover the layer.
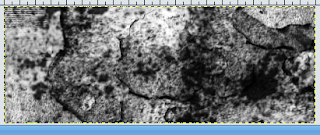
2) Now, go to Colors -> Color Balance. Change the color balance of the grunge layer to something that suits your needs. You can also go to Colors -> Colorize and change the colors from there.
3) Do a motion blur. Go to Filters -> Blur -> Motion Blur. Blur Type: Linear, Length:121, Angle:115.
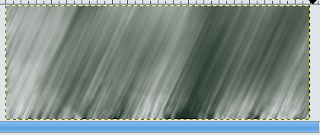
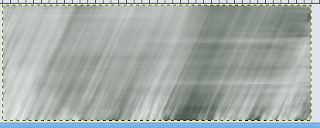
4) Create a new layer. Now use your grunge brushes in white on the layer. Do a motion blur on the layer again. Linear, 160, 0. Lower the opacity to about 60.
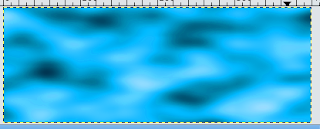
5) Create a new layer, name it clouds. Go to Filter -> Render -> Clouds -> Solid Noise. Leave the settings as they are. Now go to Colors -> Color Balance. Play around with the settings until you come up with something you like.
6) Create a new layer. Paint your grunge brushes on this layer in black. Fill up the layer but don't get too dark. When you're done, change the layer mode to Overlay. Create another layer and paint your grunge brushes in white. Set the mode to Overlay. Repeat steps one and two as many times as you want but don't use too dark of colors. Then, use the color balance again.
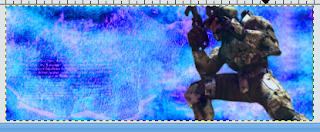
7) Alright, now that you have a background, you need a render. Go to PlanetRenders.net or Google one. Add your new render to your sig. Position it toward the left or somewhere you like it. What I did with mine was after I positioned it, I made it about 80% opaque, duplicated the layer, then set that layer to overlay.
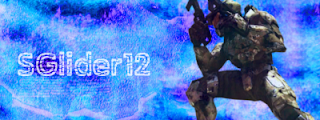
8) Now, we need to add some text. Position it towards the right. I lowered the opacity on the text, then duplicated the layer, setting the second layer to overlay. There you go. A simple way to make sigs.

No comments:
Post a Comment
Have a comment or just wanna say what's up? Go ahead!